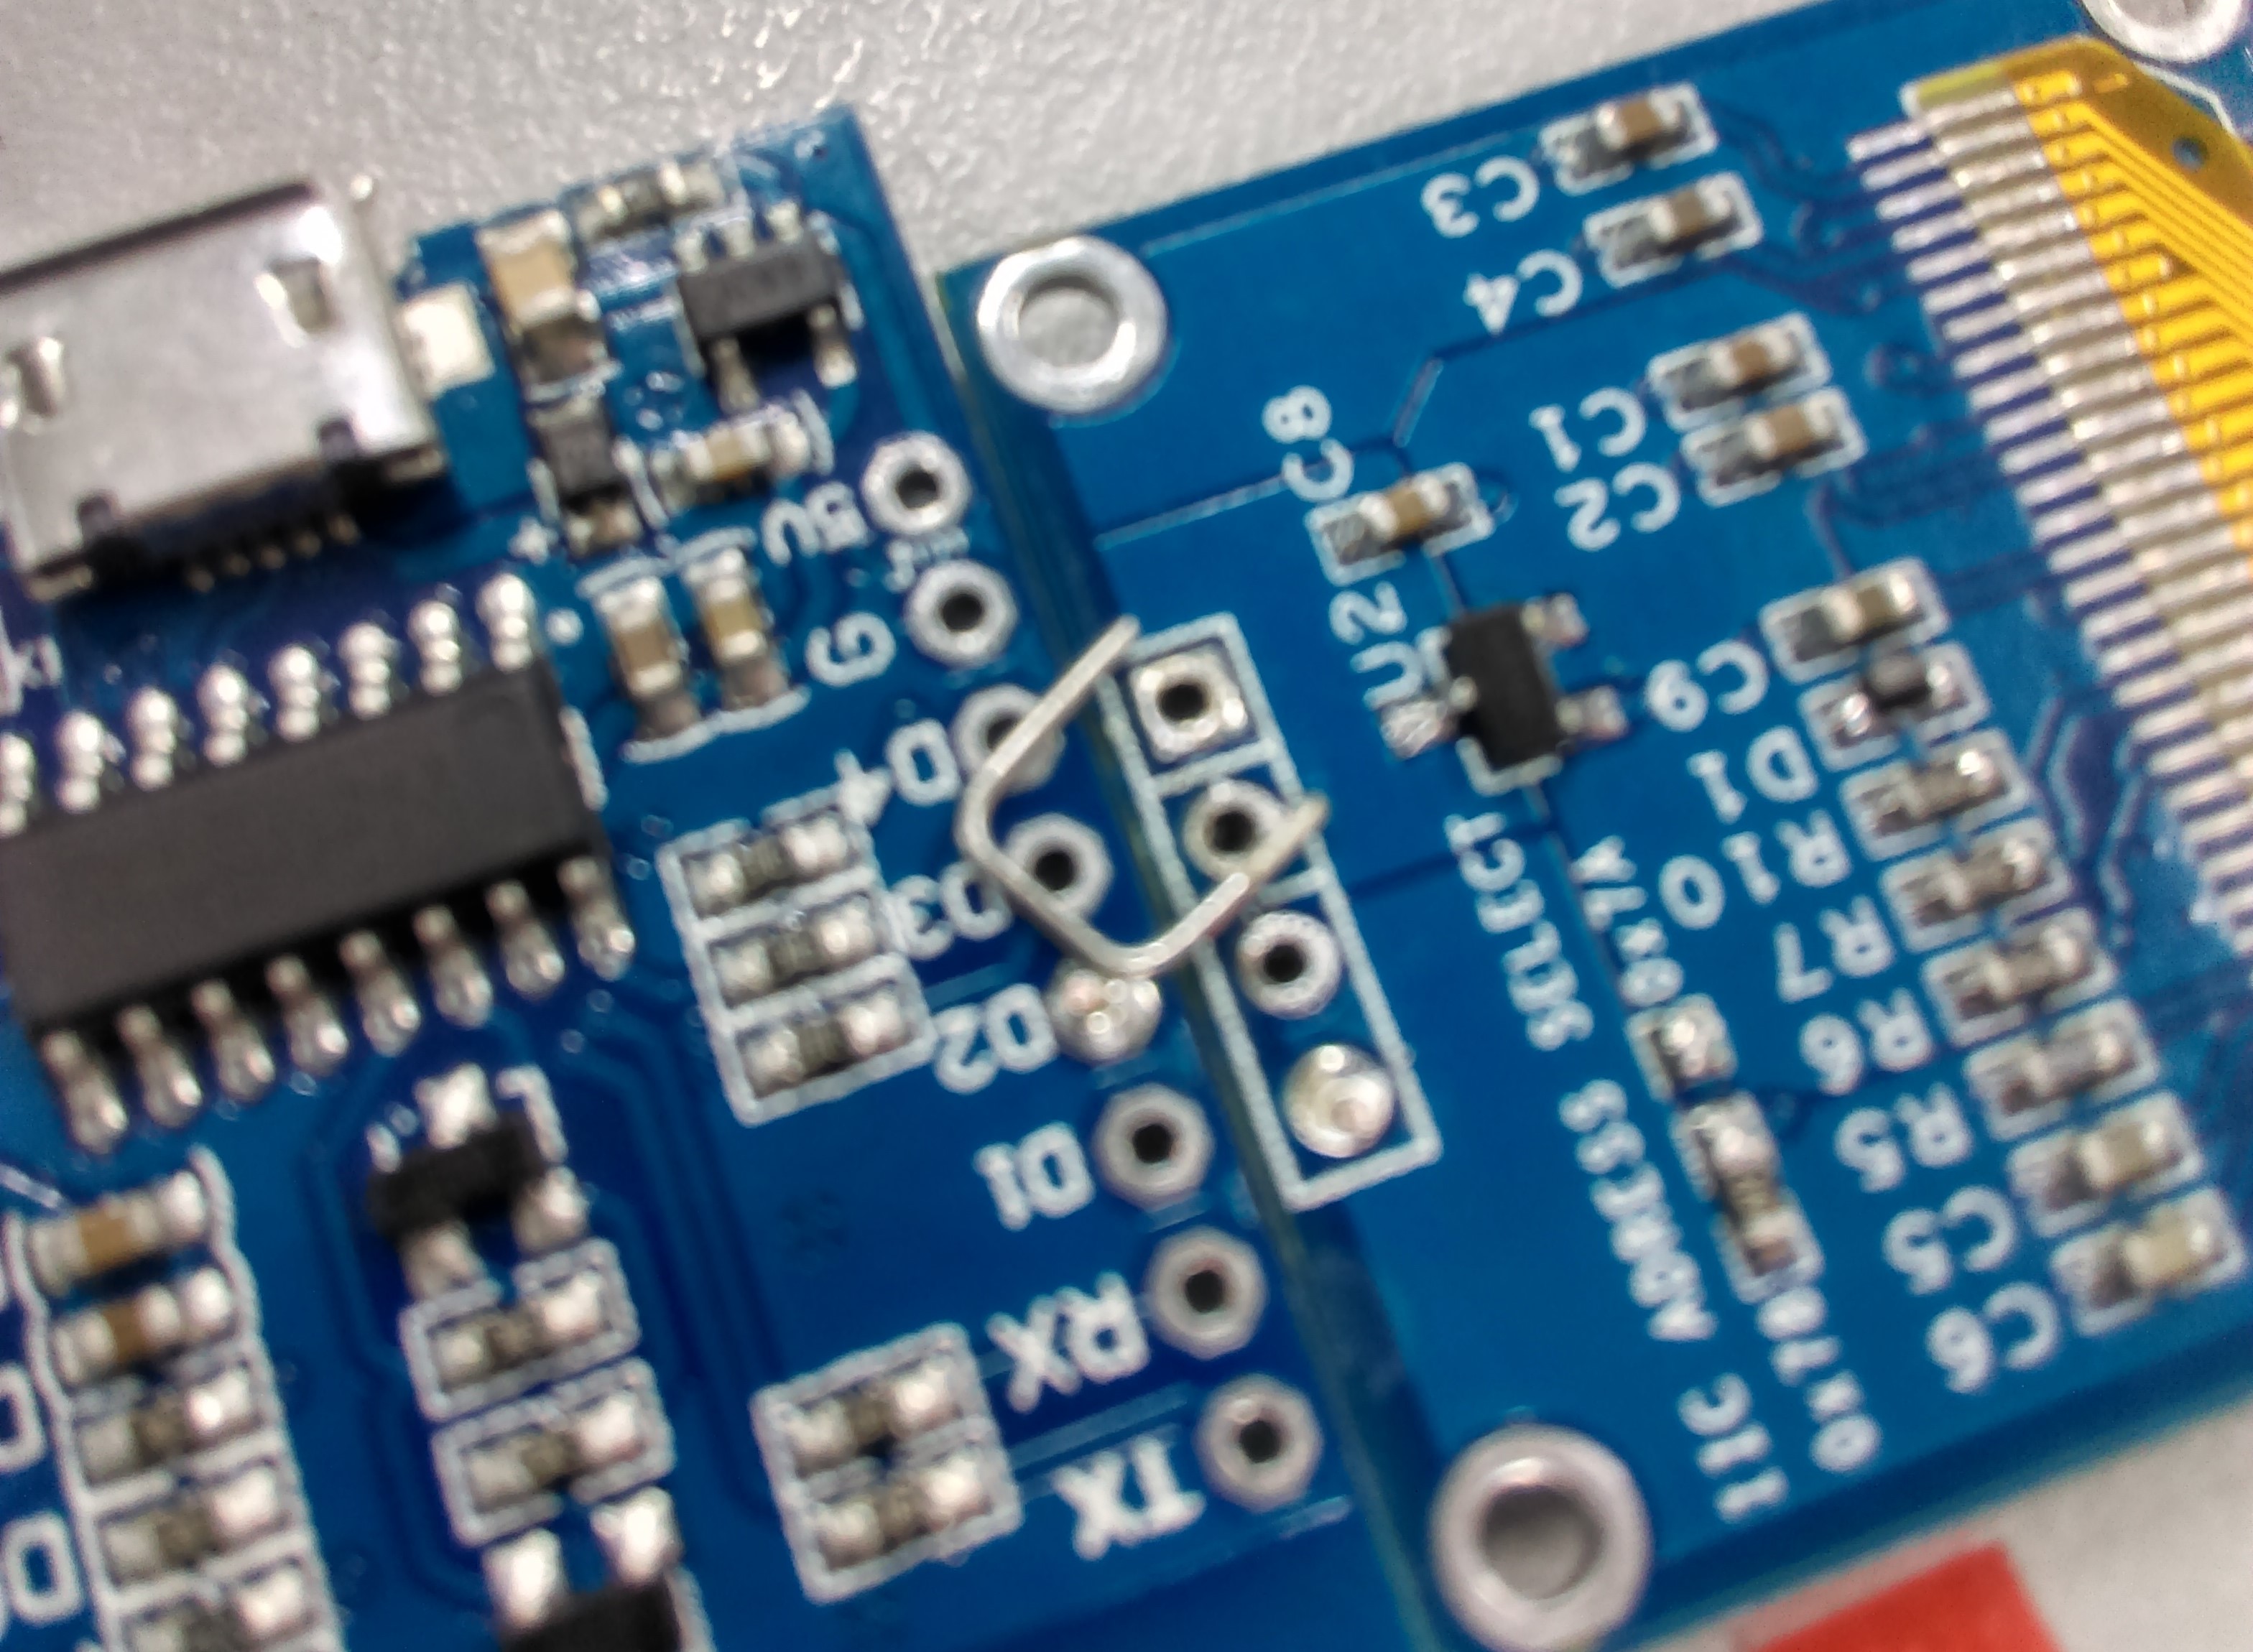
The easiest way to assemble is to get some spare resistors or components and snip the leads off, then with the leads, make 3 “U” shapes using a pair of pliers.
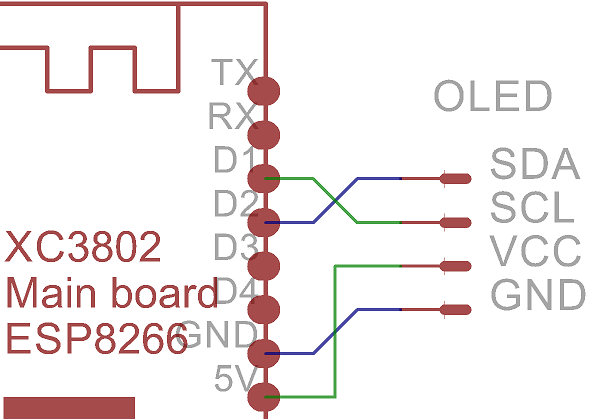
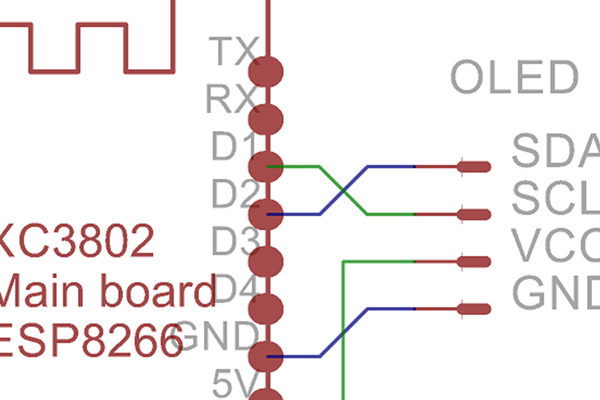
There should be 4 connections between the two boards and they should be held together fairly strongly. You are trying to emulate a cross pattern over two sets of pins. Below is a diagram of the idea, you can picture it as green on the top side of the board and blue on the other.

Line up the two boards so they're neat on the battery compartment, then use metal leads to form the connections
It can be a bit hard to mount the ESP in a “straight” manner, but what we’re doing is attaching the two and mounting the OLED. Position the ESP and OLED on the bench with SDA and D1 lined up. Note that we’re not connecting SDA to D2, not D1, so use the previously built “U” shape to cross over and solder it in place, keeping alignment.

Then flip the unit over, and solder the next U shape over SCL and D1.
Use the last U shape to connect the ground to each other. The lead from the battery pack will come up and wrap around the middle of the U shape so leave some room there if needed.
Next, get another lead from a resistor and bend one end of it at a 90-degree angle, put into VCC to check where to make another 90-degree bend, so you should have a much wider “U” shape. Snip to size and solder it in.
Run the battery leads up under where the modules are supposed to go, then place the modules over the wires so you can measure up where the wires are meant to come to. Position the modules so that the top of the OLED is pretty close to the slit on the battery compartment. Flip open the modules while keeping the wires in place, then snip and strip the wires to size so that the red wire goes in 3v3 and the black wire goes to the aforementioned ground U connection.
Finally, check that the modules can be placed correctly, and use some small self-tapping screws to fix the OLED to the battery compartment. (TIP: TD2089 is great for drilling pilot holes and is highly, highly recommended.) check the clearance in the battery compartment, as depending on your screws, they might not make room for the batteries. Use a heavy duty pair of pliers to snip the underside of the screws and to give your batteries a bit more room.


